Making Paper Part 1: Getting Started
Paper is a humble material. As a kid, It was the most accessible surface on which I could make art. Living in Thailand, I was introduced to the sophistication and muliti-dimensionality of paper, and I built the foundation of my artistic practice on that surface.
Honoring the Material
Looking around my studio at the bins of discarded paper, canvas clippings, depleted tubes of paint, and other debris, I realized that my process created far too much waste. In particular, I felt guilty seeing the scraps of used handmade paper.
The lovely texture of handmade Saa (Mullberry) and Bamboo paper brings and unpredictable character to my ink brushwork. When experimenting with new forms and patterns, I use this hand-crafted paper to truly understand the ultimate texture of my brushwork. This process results in paper full of beautiful marks but ultimately not meant to be works of art.
I wanted to find ways to reintroduce used material into my artwork and to honor the artisans who created it.
Over the next few blog posts I will focus on my efforts to recycle paper into new works of art, Including the specific processes I’ve developed and lessons I’ve learned.
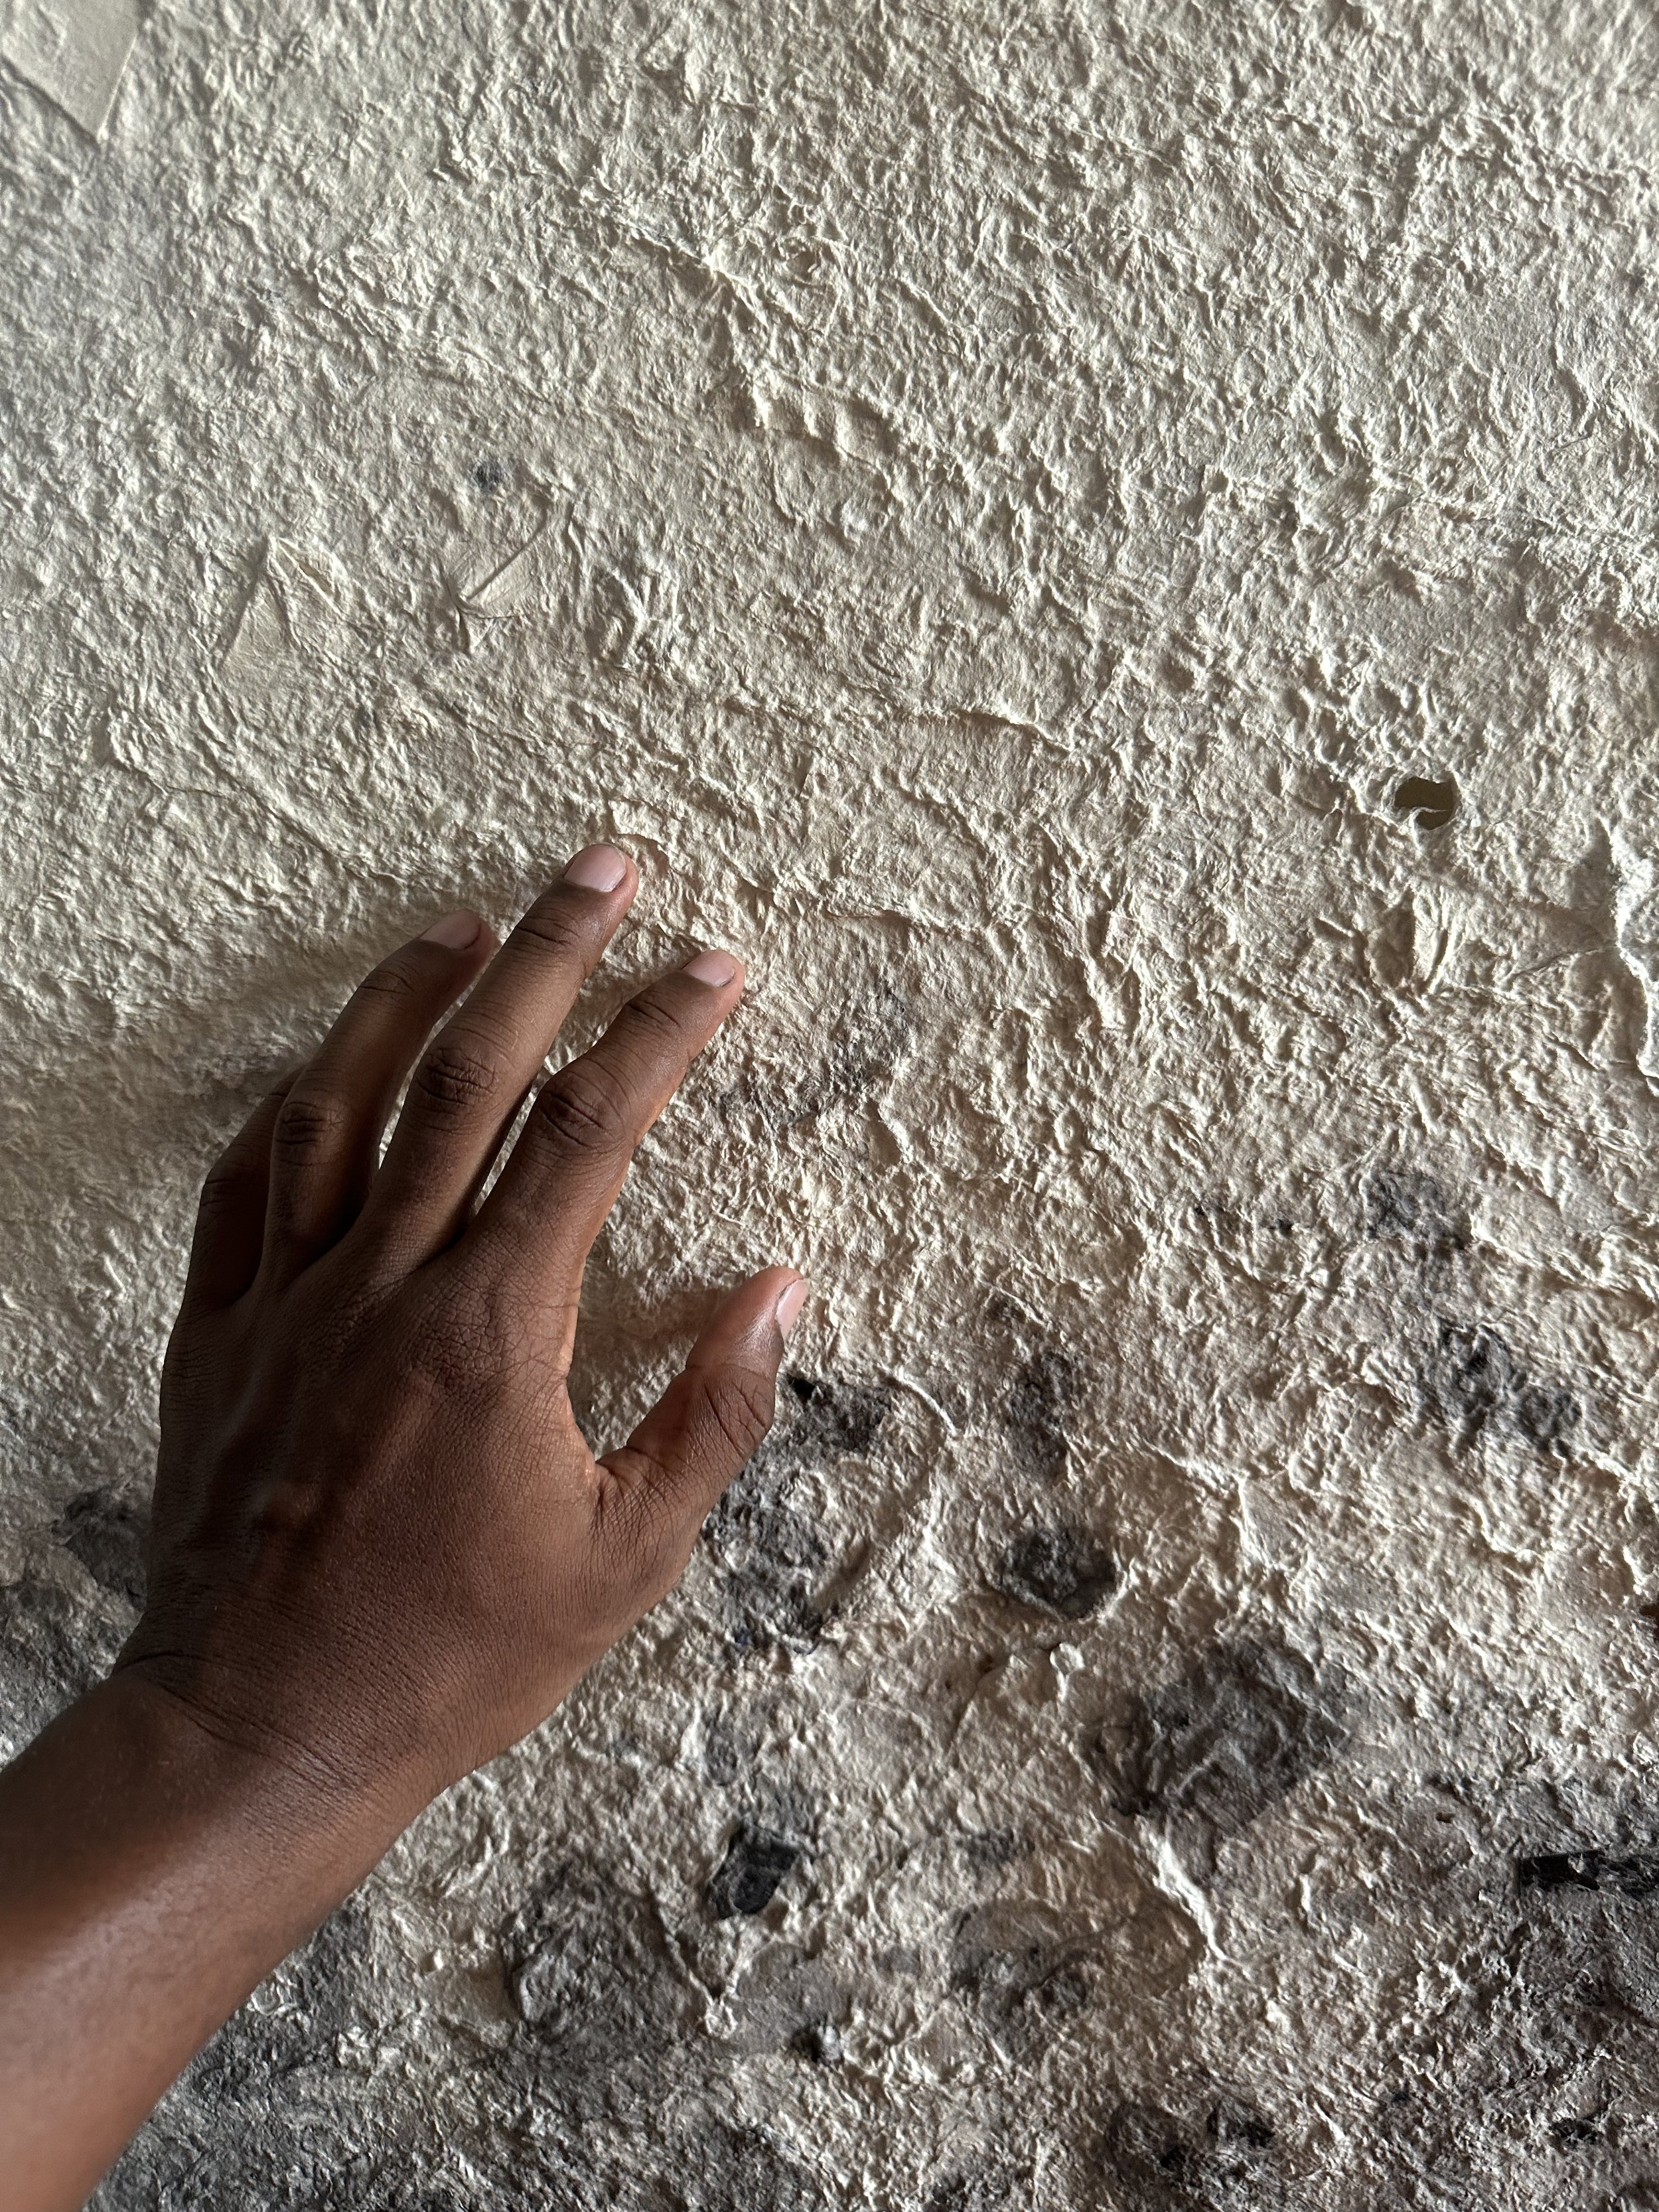
Recycled paper made from different batches of both thick and smooth paper pulp.
Moving beyond the Sheet
In devising this experiment my only initial parameter was that the final form was usable, at bare minimum, as a new sheet of paper. However, through playful investigation I realized that there was an opportunity to create a more unique and sculptural work of art.
Inspired by the rough Saa paper that lended rich texture to some of my earliest drawings, I resolved to make paper with a rugged and irregular surface, something that begs to be touched.
Here’s a look at what I’ve done so far:
Step 1: Sorting Used Paper
The first step in the process was to sort the paper. I separated Saa (Mullberry) paper from Bamboo paper, not knowing how these different fibers would behave.
I separated pages with more ink marks (marked) from relatively clean sheets (unmarked), and divided naturally darker-colored paper from bleached paper.
It is important to carefully sort the paper as I use the unmarked paper (no ink) to make a white/natural paper pulp and the marked paper (with Ink) to make a dark grey paper pulp. I keep these two groups apart throughout the process.
As I spent time reevaluating old patterns and marks during this long, slow process, I also generated ideas for new drawings. From some sheets, I preserved the ink brushwork for use in collages.
Discarded saa and bamboo paper from old Ink and watercolor sketches.
Step 2: Cutting and More Sorting
When it came time to cut these drawings into small squares roughly 3-4 cm in size, admittedly, I found it difficult to destroy my own work. In fact, I only shredded about half of the first stack as I tried to save every other sheet.
However, I settled in to the fact that these pieces would contribute to something new and greater.
I use a sharp pair of scissors to shred the paper into strips then cut the strips into squares.
Step 3: Making the Screen
Taking a break from paper for the moment, I want to touch on the equipment required for this process. To catch the paper fibers once they have returned to pulp, I use a handmade screen without a deckle (another frame that helps define the edges of the paper).
This step can happen almost anywhere in the process, and once you make a few screens you may not need to build any more. So far, I’ve built about 7 different screens for making paper, and I’m continuing to experiment with different screen sizes.
The outer structure is a simple wooden frame used for stretching canvas and the screen material is the same material used in a window to keep out bugs. I stretch the screen tight over the wooden frame, staple until secure, then add some water resistant tape to the stapled area.
Over time, my screens have stretched and distorted. So far I’ve been able to fix them, but soon they will need to be replaced.
Learning: Preparation is Key
Cutting your paper down to the right size and sorting unmarked paper from marked paper will allow for a smoother pulping process. This can be tedious and time consuming but I promise that it’s worth it.
Just a tiny amount of ink can darken the color of a natural/white paper pulp. As I will show in my next posts, you can mix two (or more) types of pulp later with more control and better results.
I want to keep this post relatively short, so in my next post I will cover the pulpling process where I break the paper down to soft and diffuse fibers.
Before you go, I want to hear from you!
Have you ever made handmade paper? What was your process?
What is something that surprised you?
What were the outcomes? Did you draw, paint, or write on this new paper?
As always, please share your questions, comments, or advice below!
-Trey


